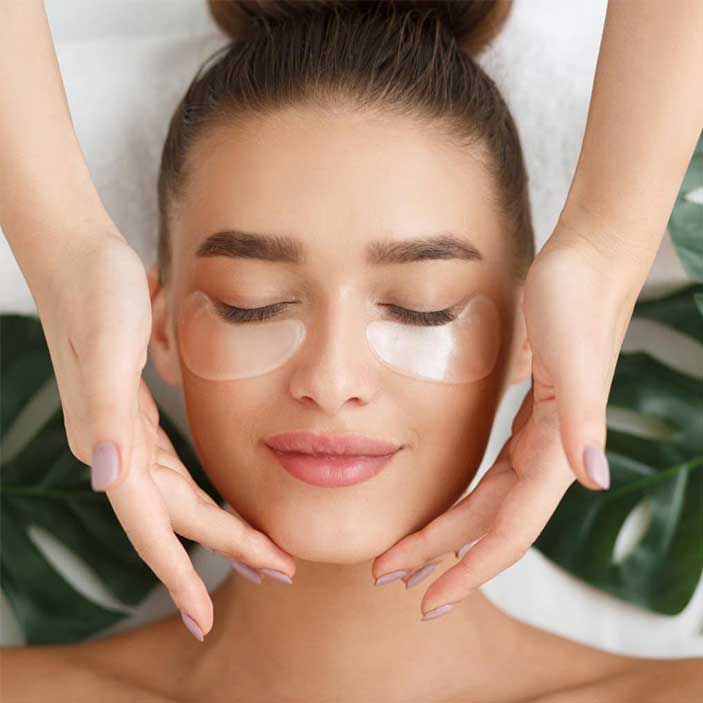
Take a moment for you in the comfort and safety of your own home. Quick tips and supplies to help you do a relaxing and cleansing facial.

To begin a DIY Facials at home, you’ll need the following so grab a basket or your favorite bag and let’s take a trip to where your skincare is at home.
DIY Facial Materials
You’ll need:
- Towels
- cotton rounds/balls
- A cleanser- oily vs. dry skin
- An Exfoliator
- A your favorite mask – oily vs. dry skin
- A toner oily vs. dry skin
- A moisturizer oily vs. dryer skin
- and last, some SPF.
Once you have all your favorite skincare products picked out that are suited to your skin all gathered together, we’ll need to set the environment.
Choosing your DIY Facial Environment
You’ll want to find a place that is relaxing, has a mirror and access to fresh water. You may also want to set up candles with your favorite aroma, wear some comfy clothes, and put on your favorite relaxing music.

Getting Started
Once you are set up, and have all your products set out neatly in an easily accessible fashion, pre-cleanse your face by removing all make-up if present. You may use the cotton rounds for this step. Then, begin cleansing with your cleanser.
Using a quarter size or less, begin to lather your face. Using soft but even pressure, rub with an upward circular motion on your cheeks, and a back and forth (friction) motion on your chin, nose, and forehead.
Next, move on to the exfoliator, and repeat with the same gentle and even pressure. When finished remove all product from face to begin mask application. This is where all those candles come in and comfy clothes.
Using your favorite mask, apply to skin (make sure you read the directions for your mask for better application. For an Aveda mask like Botanical’s Intense Hydrating or Deep Cleansing Clay mask, we recommend it stay on for 5-10mins.

To gently remove mask, use a warm damp towel to properly and efficiently remove the mask for toner application. Using the same motions that were used for the cleanser and exfoliator, apply the toner to face using the cotton rounds/balls. Follow-up the toner with your moisturizer and then your SPF to complete the facial process.
Important Tips
The purpose of a facial is to:
- remove impurities
- polish and replenish skin
- improve complexion & radiance
- provide stress relief
Remember to always:
- fight against gravity when massaging the face so always massage upwards
- use upward circular motions on cheeks
- use back and forth friction motions on nose, forehead, and chin.
- remove masks with warm damp towels to make removing the mask easier and promote circulation.
What to expect from a Spa Facial?
Facials have a tendency to refresh and cleanse but also they can bring impurities to the surface. Please perform a facial at least one to two weeks prior to an event. At home facials should also be done at least once a month.
For a quick look at an Aveda Technique that could help with your DIY Facials at Home, check out this video!
Want to learn how to do facials professionally? Check out our Esthetics/Makeup school in Maryland!
Aveda Institute Maryland
227 Archer Street
Bel Air, Maryland 21014
I would sincerely express my thanks to the writer for bringing something to the online world which is completely new.